
Files 6 min read
Preparing a print-ready STL file
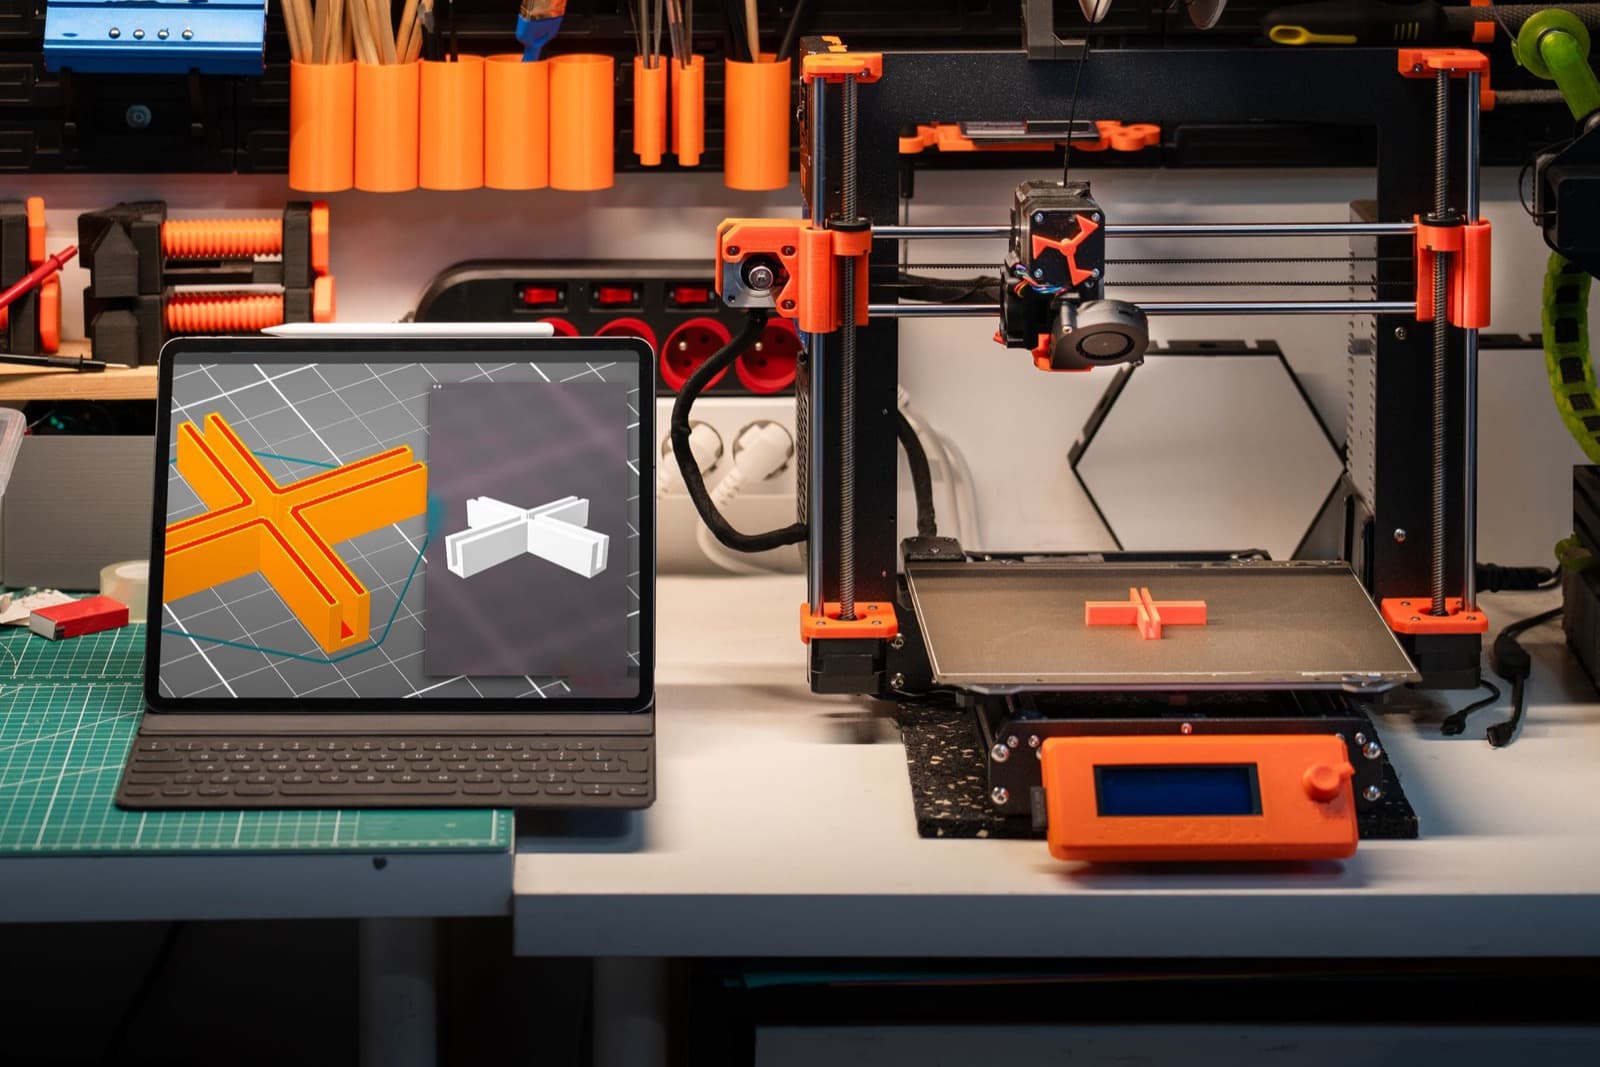
A clean file goes into production the same day; a flawed file comes back to you with questions and costs several days. The good news is that the list of points to check is short and always the same. Here is what to verify before sending an STL.
Units: always millimeters
The STL format carries no units. It contains numbers, and the software interprets them. A model drawn in inches or centimeters therefore arrives at the wrong size, sometimes off by a factor of 10 or 25, without any error message to flag it.
The rule is simple: export in millimeters. Before sending, check a known dimension of your part in the software used for the export, not just in the preview. If your phone stand is supposed to be 80 mm tall, the file must show 80.
This is the first thing the workshop checks on receipt, and by far the most common source of back-and-forth. A part ten times too large also changes the price completely, since material is billed by volume.
A closed mesh, with no holes
A printable STL must be watertight: a closed volume, with no missing faces, no isolated edges, no triangles intersecting each other. If the mesh has a hole, the machine cannot tell where the inside of the part is and slicing into layers becomes unpredictable.
Most modeling tools offer a mesh check, and free repair software fixes small defects in one click. Do it before exporting rather than after: an automatic repair on an already exported file can alter the geometry without telling you.
Also think about normals: every face must point toward the outside of the volume. An inverted normal often goes unnoticed on screen but creates ghost areas in the print. The same checking tools fix them.
Realistic wall thickness
A wall that is too thin does not print properly, or prints but breaks on first use. In a modeling tool, a surface can have zero or near-zero thickness without anything flagging it; in the print, it becomes a hole or a weak spot.
Give each wall a thickness that makes sense for the part's function: more generous on an area that carries weight, on a hook, on a hinge or around a screw hole. The same reasoning applies to raised details, engraved text and thin edges.
A properly hollowed part also costs less, since material is billed by actual volume. The choice of material affects the strength you get at the same thickness: see PLA, PETG or ABS.
Tolerances for parts that fit together
Two parts drawn to exact dimensions do not fit together. The process lays down molten material that shrinks slightly as it cools, and a 20 mm male part in a 20 mm slot ends up stuck.
You therefore need to plan deliberate clearance between parts, and adapt it to the behavior you want: a tight fit held by friction, a sliding fit that can be taken apart, a lid that should slide without forcing. State the expected type of assembly in your request, it avoids unpleasant surprises.
When a product has several parts that fit together, the first order serves as a fit test. This is a case where ordering a single unit before the run saves time: there is no minimum order.
Orientation and layer lines
A printed part is built layer by layer. The orientation chosen on the build plate therefore decides three things at once: the direction of the lines visible on the surface, the strength along the pulling axis, and the areas that will need supports.
On a product sold online, layer lines are a design element. On a well-oriented face they almost disappear; badly oriented, they streak the front you show in photos. Tell us which face is the visible face of the product, and we orient it accordingly.
Supports always leave a mark, even after cleanup. A model designed to limit overhangs gives a better finish and a cheaper part. If you are starting from a generated model, this point deserves a review: see create a 3D product.
- Identify the visible face of the product before exporting
- Reduce overhangs that require supports
- Point out the areas that will have to bear a load
File size and number of parts
We accept STL and OBJ files up to 50 MB. That is more than enough for a retail product: beyond that, the mesh is almost always denser than needed, with millions of triangles that add no detail visible to the naked eye.
If your file exceeds this limit, reduce the number of triangles in your modeling tool rather than trying to compress it. A lighter mesh is processed faster and gives exactly the same printed result.
For a product in several parts, send one STL file per part, not a single file containing the whole assembly. Each part is printed separately, often in a different orientation, and the price is calculated part by part.
- STL or OBJ, 50 MB maximum, in millimeters
- One file per part for a product in several parts
- Assembly requests (bulb, socket, screws) go in the production note
What the workshop checks before starting
Every file received is checked before production: units and actual dimensions, closed mesh, normals, critical thicknesses, material volume and feasibility in the requested material. The check is done in France, in our workshops in the Plastics Vallée.
If something is wrong, we get back to you before printing. You do not find out about the problem by receiving a box of unusable parts. This is also when we confirm the price if your production note asks for assembly, fitting or screws.
The full order process, from sending the file to shipping, is described in on-demand 3D printing, how it works.
The checklist before sending
Before uploading your file: units in millimeters and reference dimension checked, closed mesh and normals facing the right way, thick walls where the part is under load, clearance planned on fitted parts, visible face identified, one file per part, under 50 MB.
With that, the file goes into production without back-and-forth. Lead time is 7 business days for standard, 3 days for express with a 30% surcharge, and shipping is in an unbranded package under your name, €6.90 to you or €7.90 directly to your customer.
To estimate the cost of your part before sending it, use the simulator or the pricing page. To upload the file, everything happens on production.
Frequently asked questions
- What units should an STL file be exported in?
- Always millimeters. The STL format contains no unit information, so a model exported in inches or centimeters arrives at the wrong size with no error message. Check a known dimension of your part before sending, it is the most common source of error.
- What does a closed or watertight mesh mean?
- It is a volume with no holes: no missing faces, no isolated edges, no intersecting triangles, and all normals pointing outward. Without that, the software cannot tell the inside of the part from the outside. Most modeling tools offer a mesh check and repair feature.
- What is the maximum size for a 3D printing file?
- 50 MB, in STL or OBJ. Beyond that, the mesh is almost always needlessly dense: reduce the number of triangles in your modeling tool rather than compressing the file, the printed result will be identical.
- How do you send a product made of several parts?
- One STL file per part, never a single file containing the whole assembly. Each part is printed separately and the price is calculated part by part. If you want assembly with a bulb, socket or screws, say so in the production note: the workshop confirms the price before starting.
- What happens if my file has a defect?
- The file is checked before production. If something is wrong with the units, the mesh or the thicknesses, we get back to you before printing rather than producing unusable parts.